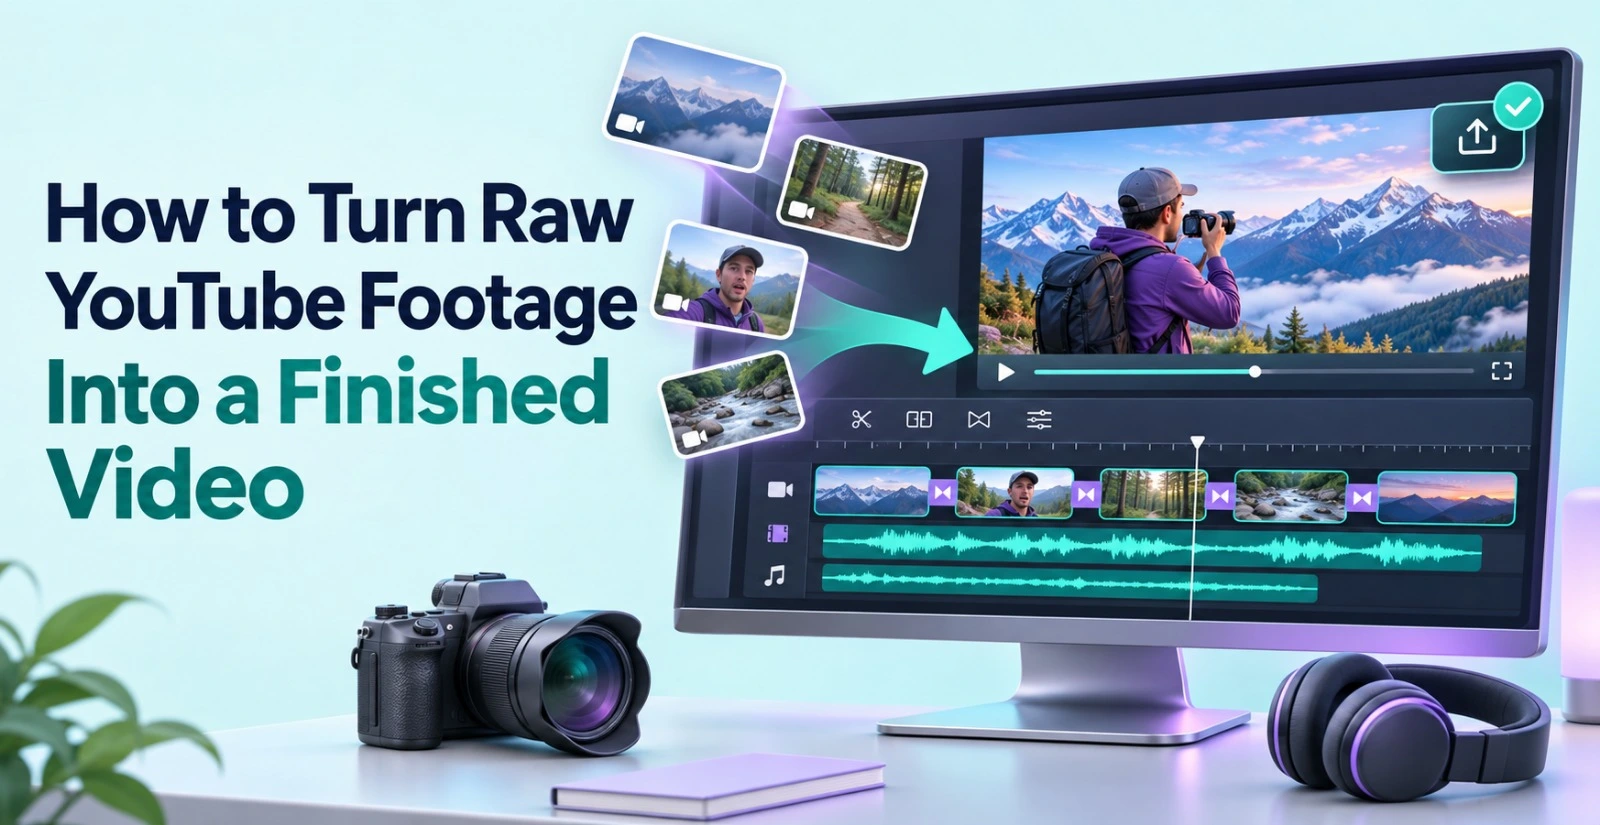
Turning raw YouTube footage into a finished video means reviewing your recordings, picking the best takes, assembling them into a base cut, and polishing the result with pacing, sound and colour. It sounds simple. In practice, it is the part of content creation that eats the most hours.
A single recording can run for an hour, with repeated takes, false starts and long pauses inside it. The finished video may run ten minutes. Getting from one to the other is a process, and a clear process saves time.This guide walks through each stage. You will learn how to prepare footage, build a first cut, choose a platform, and export a video that is ready to publish.
Why does raw YouTube footage take so long to edit?
Editing is part craft and part execution. The craft is judgment: the story, the rhythm, and how a cut should feel. The execution is the repetitive work that comes before judgment can be applied.Execution includes reviewing hours of footage, comparing takes and cutting false starts. It also covers arranging clips, shaping pace, fixing sound, grading colour and making versions for different platforms.
For YouTube creators, the volume is the problem. Long recordings, repeated takes and supporting footage pile up fast. A talking-head video with five attempts at every point forces you to hear the same sentence again and again.Most of that effort is not creative. It is operational. The more of it you can reduce, the more energy you have left for the parts viewers actually notice.
What should you do before you open the editor?
Good preparation makes every later step faster. Spend ten minutes on these tasks before you import anything:
- Back up your footage. Copy the original files to a second drive or cloud folder before you start.
- Name files clearly. Use names that show the date, scene or topic, so you can find clips later.
- Write a short outline. A list of the main points helps you decide what stays and what goes.
- Gather supporting material. Collect B-roll, screen recordings, music, voiceovers and graphics in one folder.
- Note your target length. Knowing the finish line helps you cut with purpose.
If you have a script or transcript, keep it ready. It gives you a clear structure to build against, and it makes selection much easier.
How do you build a base cut from raw footage?
A base cut is the first complete timeline assembled from your usable footage. Repeated takes, mistakes, pauses and filler are already removed. It is not a highlight reel. It runs from start to finish.
It is also a starting point, not a final video. The value is that you carry on editing from it. Here is a reliable way to get there:
- Review the footage. Watch or scan each clip and mark the usable moments.
- Pick one clean take per point. Choose the strongest delivery and set the others aside.
- Cut false starts and dead air. Remove stumbles, long pauses and filler words.
- Arrange the sections in story order. Follow your outline or script.
- Check the flow. Play the whole cut once without stopping, and note any rough joins.
Doing this by hand works, but it is slow. A two-hour recording can take a full day to reduce to a base cut. This is the stage where automation saves the most time.
Which platform should you use to edit YouTube videos?
The right platform depends on how you work. Compare options against four practical points:
- Timeline control: you need a real timeline so you can inspect and change every cut.
- Footage handling: it should cope with long recordings, repeated takes and supporting clips.
- Finishing tools: look for sound, colour, captions and effects in the same place.
- Export and delivery: it should export in YouTube-friendly formats and quality.
Invideo Editor covers these needs in one workspace. It is a professional video editor with AI editing agents you can assign real work to, and it is completely free to use. It runs in the browser, so you sign up and start editing.The invideo youtube video editor gives you a professional-grade timeline where you and AI agents shape the cut together. You can refine sound, grade colour, and add captions and effects without leaving the project.It also suits creative teams. Editors, collaborators and AI agents can work inside the same shared project and timeline, which helps when a video needs review from more than one person.
How do AI agents speed up the first cut?
The heaviest part of YouTube editing is reviewing footage and removing repetition. This is exactly the work AI agents take on. You give the agents your footage and your direction. They understand the project, do the assigned work on the timeline, and hand back a result you can look at, redirect and refine.
In invideo Editor, this capability is called agentic assembly. The agents review the material, pick the usable takes, and cut the repetition. They then lay the selected audio and video onto the timeline.
It handles different kinds of footage:
- Single camera with a script: it builds against the script and picks one clean take per line.
- Single camera without a script: it works out what you said, keeps each point once, and drops the repeats.
- Multicam: it syncs the angles, picks clean takes, and builds a layered cut.
- Music or beat-led: it arranges footage around a music edit or beat pattern.
- Generated media: it assembles generated and existing media against a structure you supply.
The workflow has four steps. Upload your footage to the media pool. Add a script or transcript if you have one. Describe the base cut you want by topic, story, shooting order or transcript. Then review the assembled timeline and keep shaping the edit.To open it, go to ai.invideo.io and select Timeline Editor below the prompt box. Create a blank timeline, open Media, and upload your footage. Then create an agent and tell it how to assemble the material.One tip for the first run: bring messy footage. A few takes of the same lines and some false starts will show the value quickly. Clean single-take footage gives the agent nothing to clear away.
How do you add pacing, B-roll, sound and colour?
Once the base cut is ready, the real craft begins. Work through these layers in order:
- Pacing: tighten slow sections and adjust the length of each scene. Viewers drop off when a point drags.
- B-roll: place supporting clips above the main picture to illustrate what you are saying.
- Sound: clean up dialogue, balance voice and music, and add sound effects where they help.
- Colour: correct and match footage so every clip looks like it belongs together.
- Graphics and captions: add titles, lower thirds and captions that support the story.
Work on one layer at a time. Trying to fix everything at once makes it hard to see what is helping.You can also point to a style you admire. With a reference, the pacing, structure and style of another edit can be applied to your footage. That is a faster way to explain a look than describing it in words.
How do you export and publish the finished video?
Export is the last step, but it deserves a checklist. Before you publish, confirm these points:
- Format: MP4 with H.264 at 1080p or higher is a safe choice for YouTube.
- Quality: export at the highest resolution your footage supports, up to 4K.
- Audio levels: play the final mix on speakers and headphones.
- Chapters: add chapter markers so viewers can jump to the sections they need.
- Versions: create shorter cuts, highlights or social clips from the same project.
If your workflow includes other software, you can continue editing in Premiere Pro, Final Cut Pro or DaVinci Resolve. That flexibility helps when a project passes between specialists.Turning one finished video into several cut-downs is also worth the effort. A single long video can become trailers, highlights and platform-specific versions, which extends its reach.
What mistakes slow down YouTube editing?
Most delays come from a few avoidable habits:
- Skipping the plan. Editing without an outline leads to endless rearranging.
- Polishing too early. Fix the structure first. Colour and effects come later.
- Keeping every take. More clips mean more decisions. Pick one strong take and move on.
- Doing repetitive work by hand. Removing filler and silence manually wastes hours that agents can save.
- Ignoring sound. Poor audio loses viewers faster than average visuals.
- Not saving versions. Keep a copy of each major stage in case you need to go back.
A tool like invideo Editor helps with several of these at once, because the agents handle the repetitive steps and every change stays visible on the timeline.
Conclusion
Turning raw YouTube footage into a finished video is a sequence of clear stages. Prepare your files, build a base cut, add pacing and B-roll, polish sound and colour, then export. Each stage is easier when the one before it is done well.The biggest time saving comes from the first cut. Letting AI agents review footage and remove repetition frees you to focus on story and style. Invideo Editor gives you that help on a timeline you can keep refining by hand.Try it on your next recording. Upload the messy footage, give clear direction, and see how far the first cut gets you before you touch a single clip.
Frequently Asked Questions
Q1. How do I edit raw footage for YouTube?
Ans. Start by backing up and organising your clips. Then review the footage, pick one clean take per point, and cut false starts and pauses. Assemble the sections in story order, then add pacing, B-roll, sound and colour before you export.
Q2. What is a base cut in video editing?
Ans. A base cut is the first complete timeline built from your usable footage. Repeated takes, mistakes, pauses and filler are already removed. It runs from start to finish and gives you a solid starting point for further editing.
Q3. What is the best free video editor for YouTube?
Ans. The best choice depends on your needs, but look for a real timeline, sound and colour tools, and good export options. Invideo Editor is a professional video editor with AI editing agents, and it is completely free to use. It runs in the browser, so there is nothing to install.
Q4. How long does it take to edit a YouTube video?
Ans. It varies with footage length and video style. A short talking-head video may take a few hours, while a long, multi-camera project can take days. Automating take selection and cleanup shortens the slowest stage.
Q5. What export settings should I use for YouTube?
Ans. MP4 with H.264 at 1080p or higher is a safe standard for YouTube. You can export up to 4K if your footage supports it. Always check the audio levels before you upload.